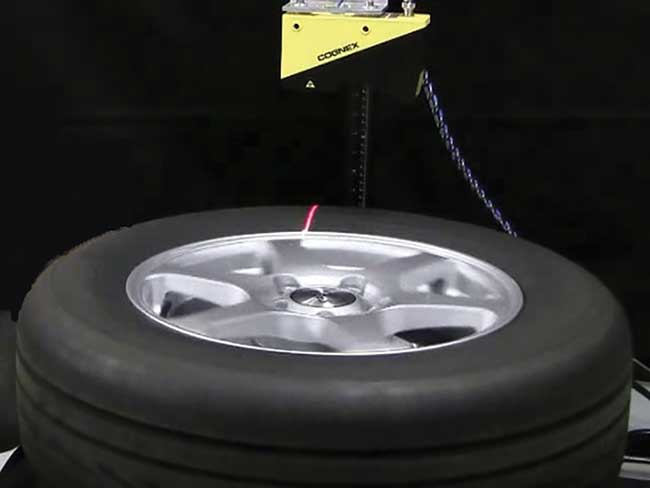
The additional data generated by a 3D imaging system makes it possible to execute challenging tasks, such as optical character recognition.
 If a traditional picture is worth a thousand words, what’s the value of a 3D image? Quite a bit when it comes to automation. Consider a robot picking a part out of a bin in an automated assembly line.
“If you want to accurately grab a pinion out of a rack, 3D vision can be used for robotic guidance,” said Bob Tremblay, senior manager of product marketing for the 3D business unit of Cognex Corp., a machine vision system maker in Natick, Mass. “You can first validate it’s the correct part. Then you can validate the location of the part: left, right, up, down, and if it’s tilted in any of the three axes.”
Getting part type, location, and orientation correct is critical to inspection, handling, and other automated tasks. The additional data in a 3D image also makes it possible to execute challenging tasks, such as optical character recognition of the lettering on tires. What’s more, 3D vision makes it easier to distinguish between robots or other machines and people — an important capability if robots and people are to mingle freely.
For automation, 3D vision needs to be fast, robust, and precise, but not costly. In the future, the vision systems will need to detect smaller and more complex objects, which, in turn, will require greater resolution.
According to the 2017 report “3D Machine Vision Market — Forecasts from 2017 to 2022” from Knowledge Sourcing Intelligence, the 3D machine vision market should nearly double, from $1.37 billion in 2017 to $2.43 billion in 2022. Increasing applications in the automotive and electronics industries are the main drivers of growth, with technology advances in cameras and imaging the main contributors, according to the report.
There are multiple 3D vision implementations, each with its own strengths and weaknesses. Cognex, for instance, uses an approach based on a laser profiler, a technique that projects a laser beam onto a surface. That provides a 2D snapshot of the object, and stitching these together yields a 3D image. The technique can be used to determine if a shaft is centered in an opening or if a bead of adhesive has been laid down properly. It also can be used to perform other in-process quality control checks in manufacturing.
Member Exclusive: To read the complete article, please Login or Register